Tecktonik Face Swap vs Whole Person: Which Appearance Mode Fits Your Clip
An honest tecktonik face swap vs whole person comparison: what each appearance mode takes from your photo, the best input for each and when to pick it.
Tecktonik Dance AI editorial team · Updated October 8, 2026
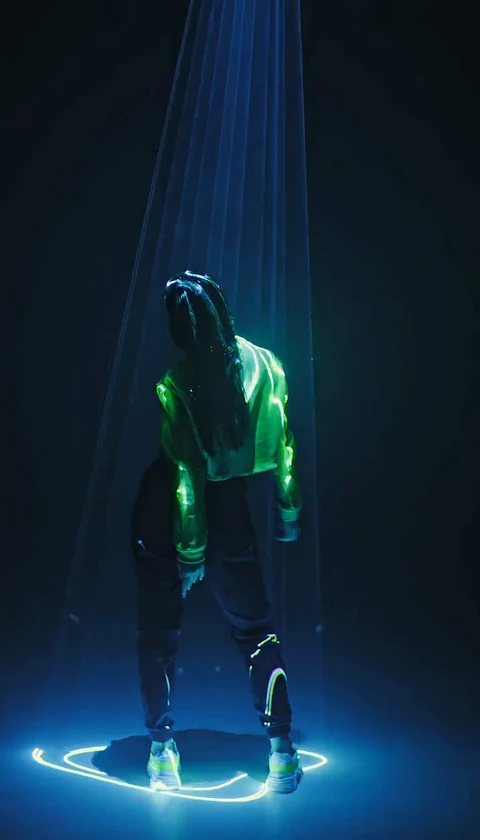
When you start a job, the studio asks you to choose an appearance mode, and it is the single setting that changes the result the most. The two options are commonly described as a face swap and a whole-person replacement, and the difference is simple: one keeps the scene's original outfit and only takes your face and hair, while the other takes your face, hair and clothes together.
This guide compares them honestly — what each one pulls from your photo, what it leaves from the scene, which photo works best for each, and where both modes fall short. There is no universally better mode; there is only the mode that matches the clip you are trying to make. This tecktonik face swap vs whole person breakdown sets out what each one takes and leaves.
The two modes, in plain terms
Face & hair
Face & hair keeps the original outfit worn by the performer in the source scene. It swaps in your face and your hairstyle, and leaves the clothing exactly as the scene captured it. If you want the club styling and only need your likeness on top of it, this is the mode.
It also has the lower bar for a photo. A clean head-and-shoulders portrait is all it needs, because it never has to reconstruct your clothing.
Whole appearance
Whole appearance brings your face, your hair and your outfit. The performer keeps the body shape and motion of the scene, but the clothes come from your photo. Choose it when the point of the clip is your own look — a jacket, a colour, a specific top.
It has the higher bar for a photo. If your outfit is cropped out of the frame, the model has nothing to work from and has to guess, which usually means the clothing drifts or defaults to something generic.
When each mode wins
Pick Face & hair when:
- You want the neon club styling the scene already has.
- Your photo is a tight portrait with no visible outfit.
- Your own clothing is plain and adds nothing to the clip.
- You care most about the face reading clearly.
Pick Whole appearance when:
- Your outfit is part of the point of the post.
- Your photo shows your clothing down to at least the waist.
- You want to recognisably be yourself, clothes included.
- The scene's outfit would clash with the look you are going for.
A common mistake is choosing Whole appearance and then uploading a headshot. That is the one combination that reliably disappoints.
Tecktonik face swap vs whole person: the full comparison
| Mode | Comes from your photo | Stays from the scene | Best input photo | Typical use |
|---|---|---|---|---|
| Face & hair | Face and hairstyle | The scene's outfit, body and motion | Sharp head-and-shoulders portrait | Club-styled clips, quick posts, tight portraits |
| Whole appearance | Face, hairstyle and clothing | The scene's body and motion | Portrait showing the outfit to at least the waist | Outfit-led posts, recognisable full looks |
Plain photo or full-body photo
The input photo decides which mode you can use well.
A plain portrait — head and shoulders, no outfit visible — is a perfect fit for Face & hair and a bad fit for Whole appearance. There is simply no clothing data in the frame.
A fuller photo showing the person to the waist or below serves both modes, but it is required for Whole appearance. If you are unsure which mode you will want, shoot the fuller framing: it keeps both doors open. Framing is covered step by step in the photo guide.
Details worth naming in the extra-direction field
Some features are easy for the model to lose, and the optional extra-direction line is where you flag them. It is a hint, not a command — it nudges the result rather than dictating it — so use it for one or two concrete things, not a paragraph.
Details that often benefit from a mention:
- Glasses, especially clear frames you want kept.
- A beard or moustache, if it is part of how you look.
- Curly or very textured hair, which can smooth out otherwise.
- A specific accessory, such as a visible collar or a hat you are not wearing in the scene.
Things that do not help in that field: long lists of conflicting requests, mood descriptions, or instructions about the dance itself. The motion comes from the source scene, not from the text box, so describing choreography achieves nothing. One or two clear constraints is the whole point.
Why neither mode is a guarantee
It is worth being direct about the limits, because overclaiming here leads to disappointment.
- Likeness is not guaranteed in either mode. The face is a likeness, not a scan, and small details can drift between frames. Both modes inherit that.
- Outfit matching is not guaranteed in Whole appearance. The model takes the clothing from your photo, but patterned, very high-contrast or unusually shaped garments can blend or simplify. A plain, clearly lit outfit photographs most faithfully.
- The motion is always the scene's. Neither mode invents a dance from your description.
- Hands and the fastest arm sweeps are the weakest area for any mode, because this is an arm-driven style.
- Results vary between runs, even with identical inputs.
Choose the mode by what the clip is for, then accept that both are a strong approximation rather than a perfect copy. Preview every result before you post it.
Switching modes later
You can run the same photo through both modes and compare the two previews, since each job is an independent video. That is often the fastest way to learn what your photo can and cannot support — one Face & hair clip and one Whole appearance clip from the same still will show you immediately which details survive.
Keep in mind that Whole appearance will only be worthwhile if that particular photo shows the outfit, so if you plan to compare, shoot the fuller framing from the start.
Frequently asked questions
What is the difference between Face & hair and Whole appearance?
Face & hair swaps in your face and hairstyle while keeping the outfit already in the scene. Whole appearance also brings your clothing from the photo, so the performer keeps the scene's body and motion but wears your outfit.
Which mode is better?
Neither is universally better. Face & hair is easier to feed and keeps the scene's styling; Whole appearance is right when your own outfit is part of the point. Pick by goal, not by quality.
Can I use a headshot for Whole appearance?
You can try, but it is the weakest combination, because there is no clothing in the frame for the model to use. For Whole appearance, frame the photo so the outfit is visible to at least the waist.
Does the extra-direction field actually work?
It works as a hint. Naming one or two details, such as glasses or curly hair, can help them survive. It is not a command line, and it never changes the choreography.
Will my outfit look exactly like the photo in Whole appearance?
Not exactly. Plain, clearly lit clothing comes through best. Patterned or high-contrast garments may be simplified or blended, and the exact fit is never guaranteed.
Can I mix the two modes in one video?
Yes for duets, where each appearance slot has its own mode, so one performer can stay in the scene's styling while the other wears their own outfit. See the duet guide for how the slots work.
Where to go next
Prepare a photo that supports the mode you want with the photo guide, then walk through the single-performer flow in the solo video guide. When you are ready, open the create page, pick a scene and compare the two modes on your own image. A standard video costs 30 credits, and credit packs are listed on the pricing page.