Best Photo for an AI Tecktonik Video: A Practical Checklist
How to pick the best photo for an AI Tecktonik video: framing, light, format and the shots that quietly break your result, with a pre-flight checklist.
Tecktonik Dance AI editorial team · Updated October 8, 2026
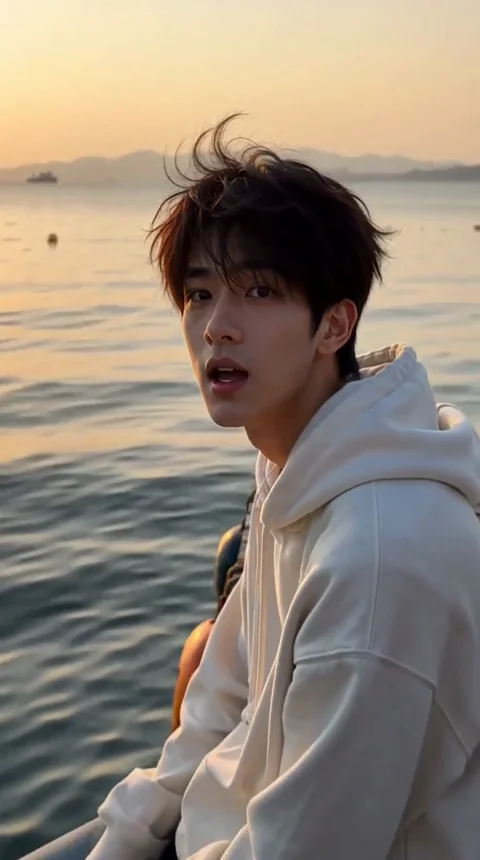
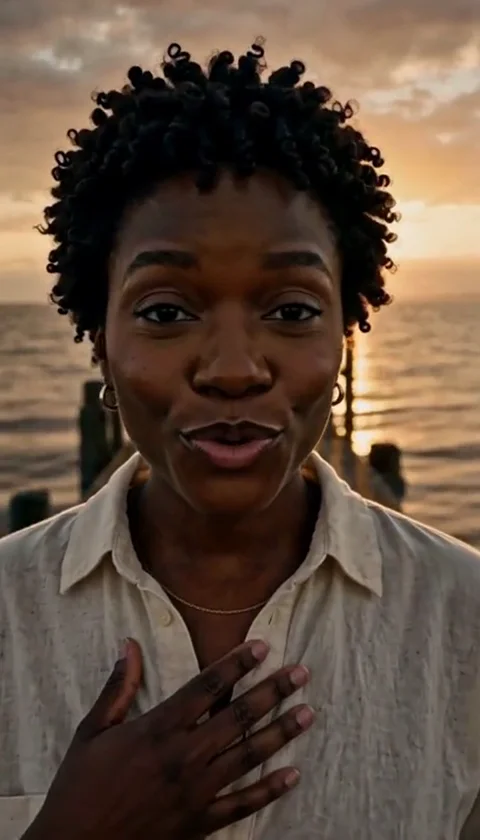
The photo you upload is the single biggest lever you control. The scene supplies the motion, the lighting and the camera move, but every recognisable detail in the finished clip — the face, the hair, the outfit if you choose that mode — comes from the still image you hand over. A sharp, front-lit portrait of one adult will almost always beat a beautiful photo that happens to be dark, distant or crowded. This guide explains what "good enough" actually means here, and what to fix before you spend a single credit. The best photo for an AI Tecktonik video is rarely the most flattering one you own; it is the sharpest, best-lit, most readable one.
If you have not chosen a scene yet, start with the end-to-end workflow, because the scene decides how many photos you need and how long the clip runs. Then come back here to prepare the image itself.
What the best photo for an AI Tecktonik video gets right
Resolution and distance
Resolution is not about megapixels; it is about how much of the frame the face occupies. A phone portrait taken from a metre away gives the tool thousands of pixels of face to work with. A long-distance shot where the subject is a small figure in a wide landscape gives it a few hundred. The model can enlarge pixels, but it cannot invent detail that was never captured, so the small face usually produces a softer, more generic likeness.
Take the photo close enough that the head and shoulders fill a good part of the frame. You do not need a professional lens — a modern phone camera in decent light is more than sufficient.
Sharpness beats flattery
A slightly unflattering photo that is genuinely sharp will outperform a flattering photo that is soft. Motion blur, a smeared autofocus and heavy digital zoom all destroy the fine structure the tool needs for eyes, nose and mouth. If you are choosing between two shots of the same person, pick the one that is technically clean, even if the other one is more glamorous. This sounds counterintuitive, but it is the difference between a coherent face and a drifting one.
One adult, facing the camera
The upload rules are strict for a reason: one adult per photo, face clearly visible and facing the camera. Two people in one frame confuses a tool that is trying to place a single performer into a single role, and a duet scene still wants two separate files rather than one group shot. If you need two people, read the duet guide before you start — the two photos never come from one image.
Facing the camera matters more than a perfect smile. A profile view, a downward glance or a photo taken from behind gives the model far less to anchor on. Look toward the lens, keep the head roughly level, and avoid extreme tilts.
Lighting: the quiet make-or-break
Lighting decides whether the face reads cleanly or muddy. The safest setup is soft, even, front light — daylight from a window you are facing, or a well-lit room with the main light source in front of you.
| Good lighting | Why it works |
|---|---|
| Facing a window in daylight | Even, soft, no hard shapes across the face |
| Indoor light in front of you | Predictable, fills the whole face |
| Overcast outdoor light | Diffused, no harsh direction |
| Risky lighting | What goes wrong |
|---|---|
| Strong backlight (window or sun behind) | Face falls into shadow, details lost |
| A single hard light from the side | A dark half and a bright half, split exposure |
| Dappled shade or blinds | Stripes of shadow across the face |
| Very dim indoor light | Noise and colour blotches, soft features |
Avoid a hard shadow falling across the face — a lamp, a hand, a window frame or a hat brim can all cast one. If you cannot move the light, move the person.
What quietly breaks a result
Some photos look perfectly fine to you and still produce a weak clip. These are the usual culprits:
- Sunglasses or dark lenses hide the eyes, which the tool relies on heavily.
- Heavy beauty filters smooth away texture and shift the proportions, so the likeness drifts.
- Extreme angles — very low or very high shots — distort a face the model then has to rationalise.
- Motion blur from a moving subject, however slight.
- Group shots, because more than one face splits attention and breaks the one-adult rule.
- Hats that hide the hairline make hairstyle reconstruction guesswork, which matters most in the Face & hair mode.
- Low-light noise, which looks gritty on a phone screen and worse once it is enlarged and animated.
None of these makes a job impossible, but each one lowers the ceiling on how good the result can be.
Framing, cropping and the file rules
Framing for the whole appearance mode
If you plan to use the Whole appearance mode, the photo has to show your clothing, not just your head. Frame the shot so the outfit is visible down to at least the waist — ideally a little more, so the model understands the shape and colour of what you are wearing.
| Mode | What the photo needs to show |
|---|---|
| Face & hair | Head and shoulders, face unobstructed |
| Whole appearance | Head, hair and outfit down to at least the waist |
A tight head-and-shoulders crop is perfect for Face & hair and useless for Whole appearance. Decide your mode first, then frame for it. The comparison between the two modes covers the trade-offs in detail.
Crop in the phone editor before uploading
You rarely need to fix anything in a desktop tool. Open the photo in your phone's own editor and:
- Crop so the subject sits centred, with the head and shoulders filling the frame — a little headroom, not a lot.
- Straighten the horizon so the head is not tilted.
- Do not over-process. Leave the colour and contrast roughly as shot; heavy edits are not the goal.
Sending a clean crop is easier than explaining a messy one in the extra direction field.
Format and size rules
The upload accepts JPG, PNG or WebP up to 10 MB. Most phone portraits land well inside that. If a file is too large, export it at a smaller size or re-save it — do not shrink it so far that the face becomes soft. Any unsafe or explicit image is rejected by a content check before generation, so an image that will not upload is usually failing a rule rather than a technical limit.
Before you upload: a pre-flight checklist
Run through this list once and most bad results never happen:
- One adult in the frame, no one else.
- Face pointing toward the camera, head level.
- Front light, no hard shadow across the face, no backlight.
- No sunglasses, no dark filters, no strong beauty smoothing.
- Sharp, not blurred or zoomed.
- Cropped close, head and shoulders filling the frame.
- For Whole appearance: outfit visible to at least the waist.
- File is JPG, PNG or WebP, under 10 MB.
- You have permission to use the photo, and the person is an adult.
Tick those and you are ready. Head to the create page and pick your scene.
Frequently asked questions
What is the ideal photo resolution for an AI Tecktonik video?
There is no magic number; what matters is how much of the frame the face fills. A clear phone portrait taken up close gives the model plenty of detail. Very small or heavily zoomed faces in wide shots are the real problem, not the pixel count.
Can I use a selfie?
Yes, a front-camera selfie works if it is sharp and well lit. Keep the arm's length reasonable so the face is not distorted by the lens, and avoid a strong light source directly behind you.
Should the photo show my full body or just my head?
It depends on the mode. Face & hair needs a clean head-and-shoulders shot. Whole appearance needs your outfit visible down to at least the waist.
Why did my upload get rejected?
The most common reasons are more than one face, no clearly visible adult face, a file that is not JPG, PNG or WebP, a file over 10 MB, or content that fails the safety check.
Do glasses ruin the result?
Ordinary clear glasses usually survive fine. Dark or mirrored lenses hide the eyes and are the bigger risk. If the glasses matter to you, name them in the extra direction field — but treat that as a hint rather than a guarantee.
Does a professional studio photo do better than a phone photo?
Not automatically. A sharp, front-lit phone shot often beats a heavily retouched studio image, because retouching tends to smooth away the exact details the tool wants.
Where to go next
Once your photo is ready, the solo video guide walks through the single-performer path, and the full walkthrough of a single job covers everything from scene choice to download. If you are still weighing how many clips to make, the pricing page shows the credit packs and the cost guide works through the budget for a batch. A standard video always costs 30 credits.