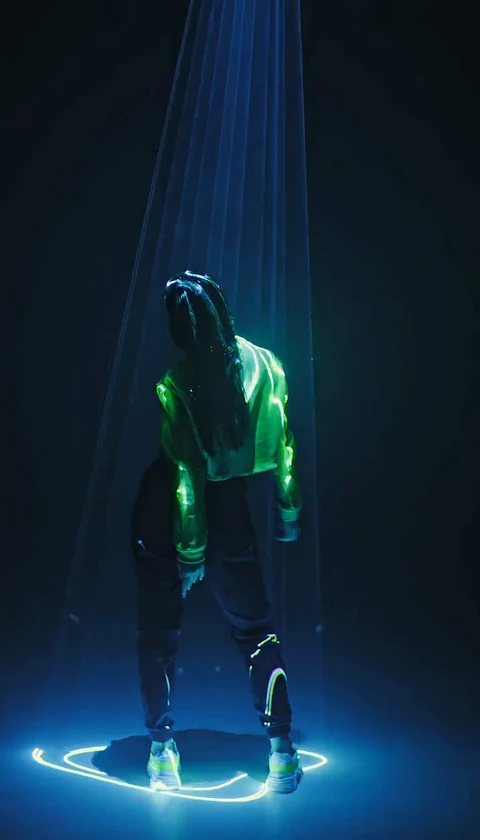
Solo Tecktonik Video: One Photo, One Performer, One Short Clip
Make a solo tecktonik video from a single photo: choosing an 8 or 10 second scene, the vertical ratios, the appearance mode and the mistakes to avoid.
Tecktonik Dance AI editorial team · Updated October 8, 2026
A solo tecktonik video is the simplest job the studio can run: one adult, one photo, one role, one short clip. There is no second performer to coordinate, no role assignment to think about and no risk of one photo dragging the other down. That simplicity makes it the best place to start, and also the format most people keep coming back to, because a single person dancing fills a vertical frame perfectly.
This guide covers the solo path end to end — how it differs from a duet, how to read the scene lengths and ratios, what to do with the appearance mode, and a worked example of one complete job.
How the solo path differs from a duet
The studio has two families of scenes. Solo scenes take one photo of one adult and place that person alone in the frame. Duet scenes take two separate photos, one adult per file, because the model needs a distinct face for each role. You never upload a group photo and hope the tool separates the people; if you want two performers, you upload two files.
Everything else about the workflow is identical. You still choose a scene, pick an appearance mode, optionally type a direction, tick the consent box and spend 30 credits. The only structural difference is how many faces arrive at once. If you expect to make duets later, the two-photo duet guide explains the extra matching work; a solo job skips all of it.
Scene length, ratio and appearance mode
Choosing 8 seconds or 10 seconds
Scene length is fixed by the scene you pick — every source clip in the catalogue runs either 8 or 10 seconds. Neither is better in the abstract; they suit different posts.
- 8 seconds is tight and punchy. It fits a hook, a reveal or a single piece of choreography with no time to breathe. On a feed where people decide in the first second, a short clip loops faster and asks less of the viewer.
- 10 seconds gives the movement room to develop. If the scene has a slow build, a turn or a pose at the end, the extra two seconds are where that pays off. It is also easier to place a music edit over, since you have more material to cut against.
Pick the length by imagining the finished post, not the generation. If your idea needs a clear beginning, middle and end, take the 10-second scene. If it is a quick gag or a reaction, the 8-second one is usually the better fit.
The vertical ratios and how they crop
Portrait scenes come out at 4:7 or 24:43. Both are narrower than the 9:16 canvas that TikTok and Instagram Reels use, and there is no automatic 9:16 output. That has practical consequences:
| Ratio | Shape | What it means on a phone feed |
|---|---|---|
| 4:7 | Portrait, moderately tall | Leaves side bars unless you crop or pad |
| 24:43 | Portrait, taller and narrower | Fills more vertical space, still not 9:16 |
| 131:90 | Landscape | Used by two-person trend scenes; heavy cropping in a vertical feed |
In practice you drop the clip into the platform editor and either scale it up to fill the 9:16 canvas, which trims the sides, or place it on a background. Scaling to fill usually looks best for a dancer, because the arms still read clearly. Just check the crop does not clip the hands at the widest point of the movement. The TikTok workflow and the Instagram Reels workflow each cover their platform's crop behaviour.
Picking the appearance mode for a solo clip
You have two options, and for a solo job the choice is mostly about how much of yourself you want to see.
Face & hair keeps the outfit that belongs to the scene and swaps in your face and hairstyle. It is the right pick when you want the club styling the scene already has and just want your likeness on top of it.
Whole appearance brings your face, hair and clothing. Choose it when the point of the clip is your own outfit — a jacket, a colour, a look you want to show. It needs a photo that shows the outfit down to at least the waist, which the photo guide covers properly, and the mode comparison breaks down the trade-offs.
What a solo tecktonik video is good for
Solo clips are flexible in a way duets are not, because there is nothing to synchronise with another person.
- The facetiming-style hook. A person alone, looking as though they are mid-call, then breaking into the dance. The vertical frame sells the illusion.
- Dance-only posts. No context, no caption gymnastics — just the movement, looped.
- Before and after. A still image followed by the animated clip, or two different scenes side by side.
- Avatar-style content. A short loop of a stylised version of a face, useful as a profile animation or a recurring character.
Because the clip is silent, all of these leave room for a track you add in the app. The music guide covers that step.
A worked example
Say you want a 10-second solo post for a weekend upload.
- Open the create page and preview two or three solo scenes. You are comparing the motion and the setting, not the people, since the people will be replaced.
- Pick a 10-second portrait scene in the 24:43 ratio because you want the taller fill for a vertical feed.
- Upload your photo. It is a phone portrait, front-lit by a window, head and shoulders centred, sharp. One adult, facing the camera.
- Choose Whole appearance because the outfit is the point of the post. Your photo shows your jacket clearly to the waist.
- Add a short direction: "keep the jacket collar and the short hair." One clear line, not a paragraph.
- Tick the consent box and press Create. The studio shows your balance and the 30-credit cost next to the button.
- Watch the status sequence — checking your photos, preparing the scene, starting generation, creating your video, checking the result, preview ready.
- Preview in the browser, then unlock and download the original MP4 once the account has a completed purchase.
- Crop to fill the vertical canvas in the platform editor and add a track from that platform's sound library.
That is the whole loop. If the result is not right, changing one input — usually the photo or the scene — is faster than generating the same job again.
Scene choices and common mistakes
Scene choices by goal
| Goal | Length | Ratio | Notes |
|---|---|---|---|
| Quick hook or reaction | 8s | 4:7 or 24:43 | Loops fast, minimal setup |
| Full choreography showcase | 10s | 24:43 | More room for a build and a finish |
| Outfit-led post | 8s or 10s | 24:43 | Use Whole appearance; show the outfit |
| Avatar or profile loop | 8s | 4:7 | Short, seamless loop |
| Lyric-style edit | 10s | 24:43 | More material to cut against a track |
Common solo mistakes
- Two people in the photo. Even if one is in the background, it breaks the one-adult rule. Crop or reshoot.
- Cropping the head. A tight crop that cuts the top of the hair gives the model nothing to anchor the hairstyle to. Leave a little headroom.
- Expecting 9:16. Nothing outputs standard 9:16 automatically. Plan the crop.
- Overwriting the direction field. Three or four clashing instructions confuse the model; one or two clear details help.
- Ignoring the mode. Taking a tight headshot and then choosing Whole appearance, which then has to guess your outfit.
Frequently asked questions
Do I need more than one photo for a solo video?
No. A solo scene takes exactly one photo of one adult. A duet scene is the one that needs two files.
Can I choose whether my clip is 8 or 10 seconds?
Indirectly, by choosing the scene. Each scene has a fixed length, so you pick the length when you pick the scene.
Is there a 9:16 option?
No. Portrait scenes come out at 4:7 or 24:43. You crop to a 9:16 canvas in the platform editor after download.
What if my solo clip looks wrong?
Start with the photo, then the scene. A sharper, better-lit image and a scene whose motion matches your goal fix most weak results. The troubleshooting guide lists the causes in order.
How much does a solo video cost?
A standard video costs 30 credits, whether it is solo or a duet. Packs of credits are sold on the pricing page, and the cost guide works through planning several clips.
Can I make several solo clips from the same photo?
Yes. The same photo can be used across scenes, and each job is charged independently as a separate video.
Where to go next
Start on the create page and preview a couple of solo scenes before you upload. When you are ready for two performers, move on to the duet video guide, and if you are choosing a photo, the photo guide will save you a wasted credit. Tecktonik Dance AI is an independent tool with no affiliation to any artist, label or social platform.